
Practice notes from the studio
Practice guides you can use between lessons
These are the routines and technique notes handed out at the studio, written so you can work through them on your own. They cover chord shapes, strumming, fingerpicking, tablature reading, and the theory that supports them. Start with whichever one addresses the thing you are stuck on.
Read it, play it, then bring questions to your lesson
A guide worth following is one you can finish in the time you actually have. Every page below is a self-contained session: what to play, in what order, and how long each part should take. None of them replace a lesson, and none of them depend on one — they are the middle part, the hours you spend between sessions when nobody is listening and the repetitions are what count.
Work in short, regular bursts rather than one long sitting at the weekend. Ten focused minutes on a Tuesday evening will move you further than a two-hour session you never repeat. If a guide raises a question you cannot answer by listening back to a recording, note it down and bring it to your next lesson instead of guessing at it.
None of the material here needs sight-reading. Tablature and your ear will carry you a long way before standard notation becomes useful.
Where most practice time goes
Fifteen minutes done daily beats two hours done once.
The routine below is the one most learners at the studio start with. It is deliberately short, and it is written so that each of the four parts has a job: changes, repertoire, technique, then something you enjoy.
A fifteen-minute daily routine
Start with two minutes of slow chord changes between the two shapes you find hardest, using a timer and counting the clean changes. Then five minutes on the song you are currently learning, at a tempo where you make no mistakes. Follow with five minutes of a technique drill — strumming, fingerpicking, or picking accuracy. Finish with two minutes of something you enjoy playing, because ending on a good note keeps the habit alive.
If you only have the fifteen minutes, this order matters. Changes first while your hands are fresh, because that is the part that improves slowest. The two minutes of playing for pleasure at the end are not a reward you can skip — they are the reason you come back tomorrow.
-
Two minutes
Slow chord changes
Pick the two shapes that fight your fingers most. Set a timer, move between them, and count only the changes that landed cleanly. The count is the point — it turns a vague warm-up into something you can actually watch improve week to week.
-
Five minutes
The song you are learning
Play it at a tempo where you make no mistakes, even if that feels painfully slow. A song practised at full speed with the same stumble three times over teaches you the stumble. Slow and clean teaches the song.
-
Five minutes
One technique drill
Strumming, fingerpicking, or picking accuracy — choose one for the week rather than alternating daily. Repetition of a single drill builds the habit faster than variety, and the technique notes later on this page tell you what to watch for.
-
Two minutes
Something you enjoy
No counting, no timer, no corrections. Riff, sing, strum a favourite — whatever made you pick the guitar up in the first place. It is the cheapest habit insurance you have.
Chord shapes that unlock the most songs
Four shapes cover an enormous amount of popular music: G, C, D, and Em. Add Am and you have most of what a beginner songbook needs. The shapes matter far less than the transitions between them — so practise moving between pairs rather than perfecting each shape on its own.
Start with G, C, D and Em
Between them, these four turn up in a huge share of the songs a beginner wants to play. Add Am and you can sit inside most of a standard songbook without changing what you practise.
Practise the join, not the shape
Take two shapes and move between them in time. When that pair is smooth, swap one of them out. Chord changes are where songs actually fall apart, and they improve faster as pairs than as a full set.
Press just behind the fret
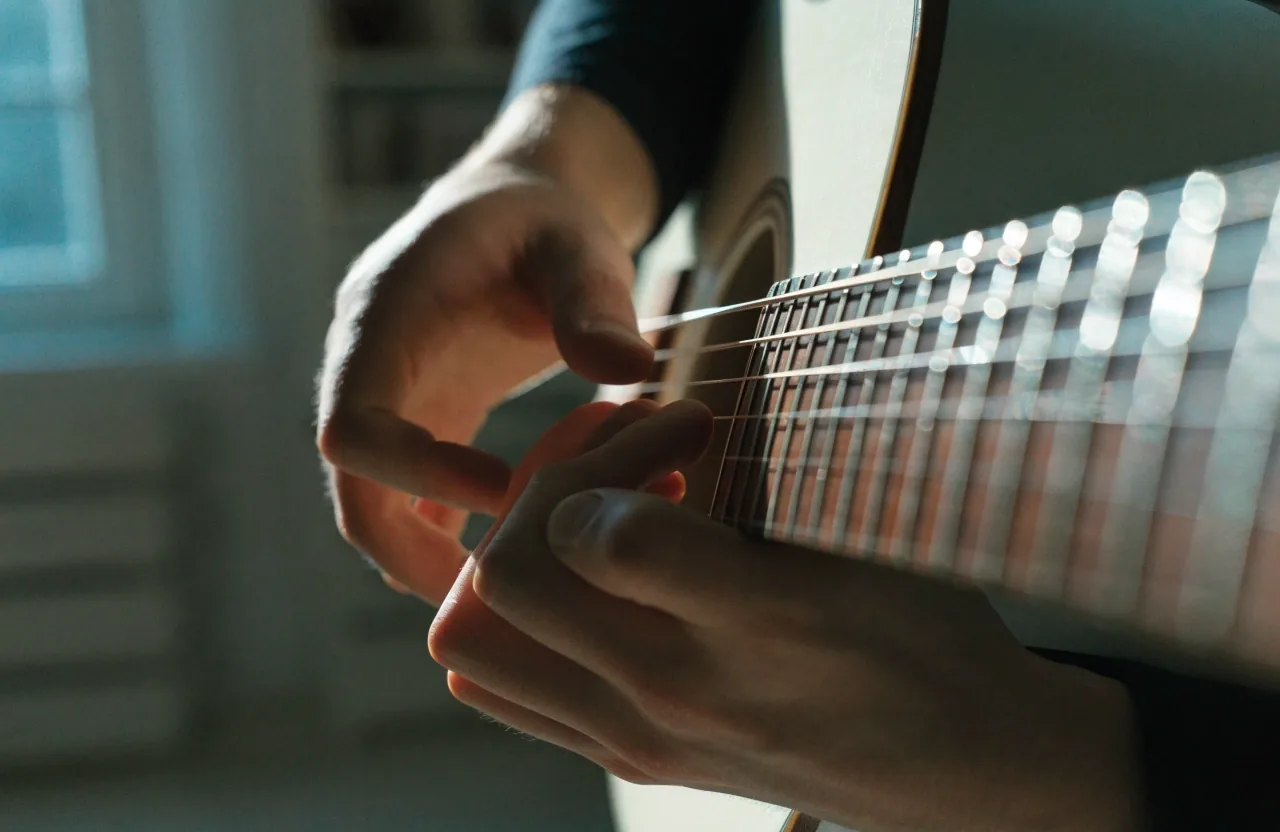
Keep your fretting fingers close to the strings and press just behind the fret rather than on top of it. Buzz usually comes from pressing in the wrong place or pressing far harder than the string needs.
Barre chords, and why they resist
Barre chords fail for physical reasons before they fail for musical ones. The string tension, the height of the action, and the angle of your index finger all matter more than how hard you squeeze.
Three things worth checking before blaming your hands
- Where the index finger sits: roll it slightly onto the bony edge rather than pressing flat with the soft part.
- How high the strings sit off the neck — a setup difference can make the same shape twice as hard.
- How far up the neck you are trying it. Higher frets mean slacker strings.
How it actually goes
Start the barre shapes higher up the neck, where the strings are slacker and the fret spacing is tighter, and move down the neck as strength builds. Play the shape slowly enough that you can hear which strings are not ringing, then adjust one thing at a time rather than pressing harder across the whole hand.
Expect this one to take weeks, not days. It is normal after a fortnight to still be finding your way down past the fifth fret, and it is equally normal for it to click suddenly once your hand finds the angle. Keep the sessions short and stop before your grip tires — tired hands learn nothing except how to press badly.
Do this
Try the same shape at the seventh fret, then the fifth, then the third — one position per session, in that order over a few weeks.
Avoid this
Gripping for twenty minutes on the first fret and writing the shape off as impossible. That is a setup and angle problem, not a verdict on your hands.
Strumming patterns and keeping time
Everything on this page about strumming comes down to one habit: the hand keeps moving even when the strings are not being played.
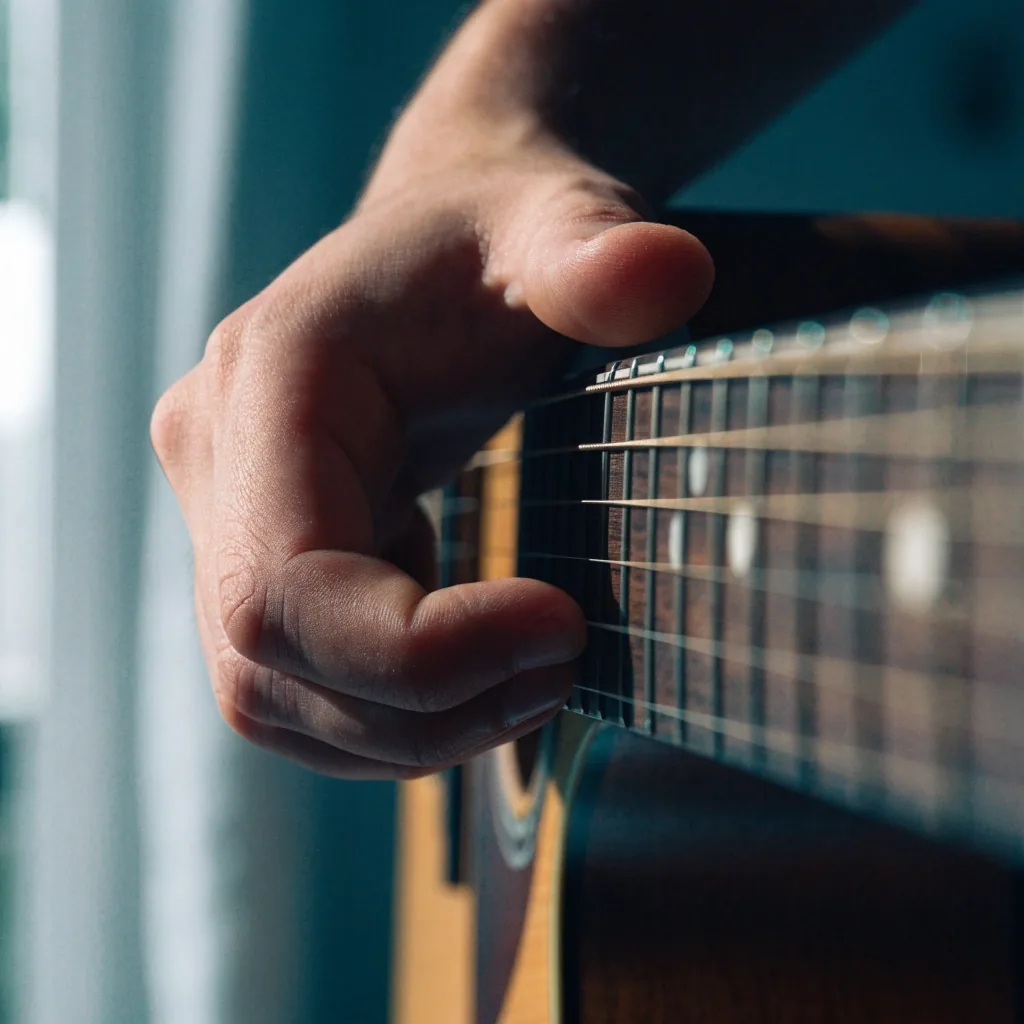
Strumming lives in the wrist, not the elbow, and the down-up motion should stay constant even when you skip strings. That last part is what most learners miss: on the beats where you do not play, the hand still travels through the same arc, just without touching the strings. It looks calm, and it is why experienced players seem to keep time without thinking about it.
Practise the pattern with muted strings first, so you are not juggling two problems at once. Once the motion is steady, add the chord changes back in. Counting out loud feels awkward and works — it uses a different part of your attention, and it exposes the places where the hand drifts.
Most timing problems come from the hand speeding up during easy sections and stalling at chord changes. A metronome exposes that immediately, which is exactly why it is uncomfortable. Set it slower than feels natural, play the pattern for a minute, and note which bar you lost it in.
Before you add the chords
- Keep the wrist loose and the elbow still — if your shoulder is moving, the pattern will not survive a chord change.
- Mute the strings with your fretting hand and drill the down-up motion on its own for a full minute.
- Set a metronome five beats below where you think you play. Slow enough feels wrong for about two days, then it feels obvious.
- Count out loud, in fours, all the way through. Awkward and effective in equal measure.

Fingerpicking foundations
Start with the thumb on the bass strings and the fingers on the top three, keeping the hand relaxed and the wrist still. The pattern matters less than even volume between thumb and fingers — that imbalance is what most beginners hear as a mistake and cannot name.
Practise slowly enough that every note sounds deliberate. If one note in the pattern is noticeably quieter, that is the note to work on, not the pattern as a whole. When a pattern becomes automatic, move it onto a chord progression so it turns into music rather than an exercise — that is the step people skip, and it is why fingerpicking feels stuck for months while the drill itself is fine.
Aim for even, not fast
Volume balance between thumb and fingers is the skill. Speed arrives on its own once the pattern is even.
Then add a progression
Once the pattern runs without thought, put it over two chords you already know and keep the pattern going across the change.
Reading tablature properly
Tablature lines represent strings, with the bottom line as the low E, and numbers showing which fret to play. What tab does not show clearly is rhythm, so work from a recording alongside the tab until the timing is in your ear. Reading tab gets faster with repetition, and most learners are fluent within a few weeks of regular use. Standard notation can wait until an exam or a specific goal calls for it.
Theory worth knowing early
Three ideas carry a lot of weight: the notes on the fretboard up to the fifth fret, how major and minor chords are built from intervals, and what a key means in practice. None of this requires reading music.
Knowing why a chord change sounds unresolved, or how to find the same chord in a different position, makes learning songs faster rather than slower. It also shortens the guessing when a recording does something your tab sheet does not explain.
-
The fretboard up to fret five
Learn the note names on the low E and A strings first. Once those two are solid, you can find any chord shape you already know in a new position without counting from the nut every time.
-
How chords are built from intervals
Major and minor chords are the same three ingredients moved by one step. Hearing that difference is what lets you name a chord by ear instead of hunting for it on the fretboard.
-
What a key means in practice
A key is the set of chords a song tends to live in. Recognising it tells you which shapes to expect before you have read a single chord on the page — useful when you are working a song out by ear.
-
Where this pays off
Not in exams. In the moment a recording does something your songbook does not show, and you can hear what changed instead of starting the song again from the top.
Practising when you have ten minutes
Short sessions still count. Pick one thing, play it slowly with attention, and stop. A single chord transition drilled for ten focused minutes beats an hour of half-attention noodling — the difference is not the time, it is that one of them has a target.
Keep a list of the three things currently under construction — for example a chord pair, one strumming pattern, and the bridge of a song. When a ten-minute window opens, you go straight to the top of the list instead of spending the window deciding what to do. Rewrite the list after each lesson.
The part that makes the guides work
Bring the awkward bits to a lesson
Self-contained routines only take you so far. The place a guide stops short is usually the place a tutor can watch your hands for ten seconds and say the one thing you would not have found on your own. If a passage keeps slipping, or a strumming pattern will not sit against a metronome, bring the recording and the sheet to the next session rather than grinding at it for another fortnight.
The studio teaches at 14 Denmark Street in London, and runs lessons Monday to Friday between 9:00 and 18:00, and Saturday from 10:00 to 16:00. Send an enquiry and we will get back to you directly to work out which format suits how you want to learn — there is no need to know that before you write.
Questions that come up about practice
A few things learners ask before they start working through the guides at home. If your question is not here, put it in an enquiry and we will answer it directly.
How long should I practise if I am completely new to the guitar?
Fifteen minutes a day is a better starting point than an hour twice a week, mostly because your fingertips need time to adjust before longer sessions become comfortable. Follow the daily routine on this page and treat the two-minute chord-change block as the one part you never skip. If even fifteen minutes feels long, split it — five minutes before work and ten in the evening works just as well, as long as it happens most days.
Do I need to read music to use these guides?
No. Everything here works from tablature, chord grids, and your ear. Standard notation is worth learning when a specific goal calls for it — a graded exam, a session where charts are handed out, or a piece you cannot find in tab — but it is not a prerequisite for playing songs or for working through the routines on this page.
My barre chords still buzz after a few weeks. What should I change?
Check three things before assuming it is a strength problem: the index finger rolled onto its bony edge rather than pressing flat, the height of your strings off the neck, and how far down the neck you are attempting the shape. Try the same shape at the seventh fret for a week, then move down one position at a time. If it still resists, that is a good thing to show a tutor in person — a setup check and a different hand angle can change a lot in one session.
Can I work through these guides without taking lessons?
Yes — they are written to stand on their own, and plenty of people use them that way. What a lesson adds is a second pair of eyes on things you cannot hear in your own playing, plus someone to decide what to work on next once the obvious problems are gone. You can book a single session to check your position and habits, then take it from there with the guides.
What should I prepare before an enquiry?
Nothing formal. It helps to know roughly how long you have been playing, what you can currently do, and what you would like to be able to play in six months — a song, a style, or simply steady chord changes. Instruments and styles are covered on their own page if you are deciding what to learn on. After you send the enquiry we will contact you directly to talk through the options; there is no charge to ask.